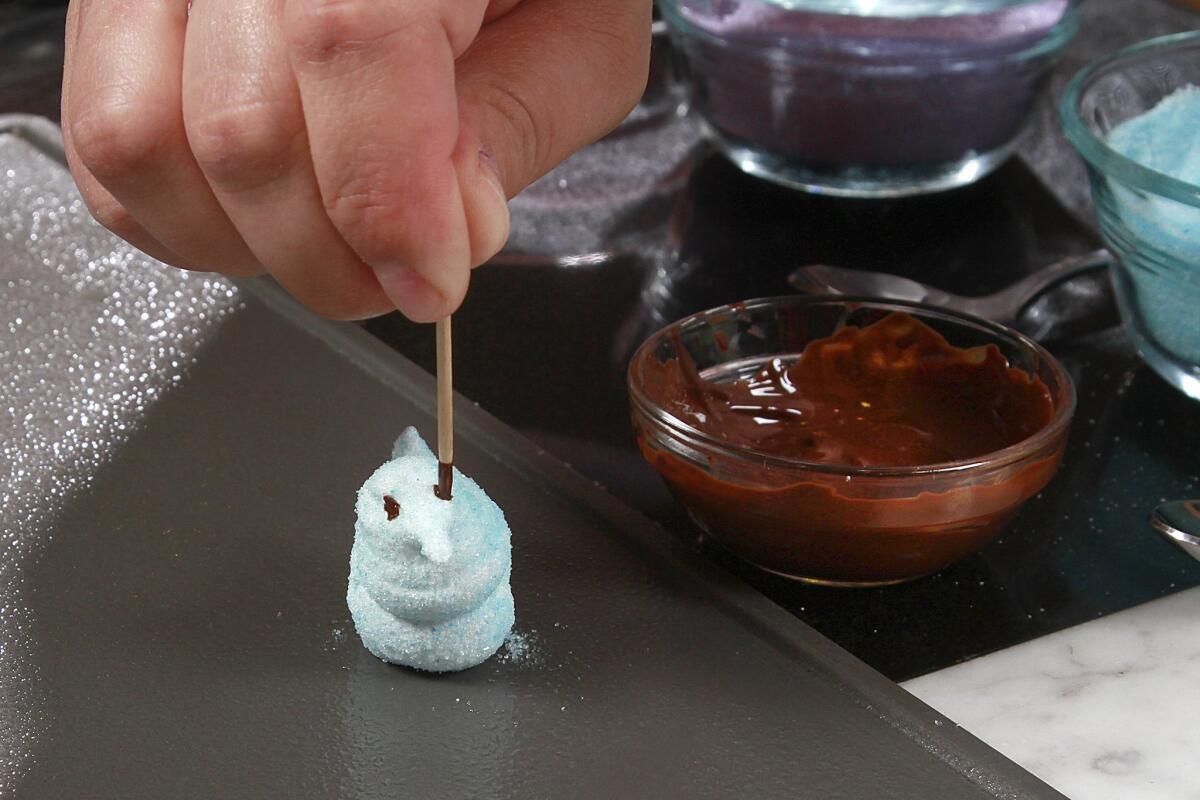
Perfecting our homemade ‘peeps’ recipe

- Share via
In the recent story on homemade “peeps”, I allude to what it took to come up with a perfectly pipeable “peep” (say that 10 times). It wasn’t easy.
While there is no shortage to homemade “peeps” recipes online, the Test Kitchen staff and I had trouble finding a recipe that worked. We tested a variety of recipes, before rethinking our approach. Ultimately, it involved going back to tweaking a simple classic marshmallow. Here are some of my notes:
On marshmallows: Marshmallows were once made from the juice of the marsh mallow plant, beaten with egg white and sugar for a foamy consistency. Today, many recipes rely on gelatin. Gelatin, sugar and flavoring are beaten together to form marshmallows, the proteins in the gelatin acting similar to egg whites to give the marshmallows a fluffy, almost meringue-like texture.
The trick, for us, was to create a marshmallow stiff yet pliable enough to form the traditional “peeps” chick.
Many of the recipes we initially tested or studied call for cooking sugar to a lower temperature, 238 to 240 degrees (“soft-ball stage”). I found this not hot enough to provide enough structure for a piped marshmallow chick (our early tests looked more like slugs and walruses). We took the sugar temperature to 245 degrees (“firm-ball stage”) for a firmer marshmallow.
As important as we found the sugar temperature to be, the trick was also beating the marshmallows to the right consistency. Many marshmallow recipes call for beating just until the marshmallow is puffed and light in texture, 6 to 8 minutes or so. While this is fine for marshmallows spread out on a baking sheet and left to set up before cutting, it doesn’t provide the structure needed for piped marshmallows (imagine piped snakes and anteaters). Batch by batch, we found additional beating increased stability.
Timing here will vary batch to batch (our tests ranged from 10 to 16 minutes. The trick is to look for the right visual indicators. We could tell the marshmallow was ready when it lost its glossy sheen, held its shape as the beater was removed (much like a stiff meringue) and was not so stringy (the marshmallow string should snap quickly as the beater is removed).
As with the marshmallows themselves, recipes vary when it comes to piping. Some call for piping chicks onto sugar-lined or greased baking sheets. Others call for piping into sugar-filled bowls. Piping directly onto sugar-filled bowls or baking dishes worked best for us: the marshmallow sets up quickly after piping. This also makes it easier to spoon extra sugar onto the freshly-piped chick before it sets.
That said, the piped chicks still take a little practice, though even an Easter marshmallow “slug” is tasty!
If you test the recipe, please share your pictures. I’d love to see how they work out in your kitchen!
Recipe: Homemade marshmallow “peeps”
ALSO:
Go behind the scenes at the Test Kitchen
Browse hundreds of recipes from the L.A. Times Test Kitchen
You can find Noelle Carter on Facebook, Google+, Twitter and Pinterest. Email Noelle at noelle.carter@latimes.com.
More to Read
Eat your way across L.A.
Get our weekly Tasting Notes newsletter for reviews, news and more.
You may occasionally receive promotional content from the Los Angeles Times.


