3 D.I.Y. holiday crafts that are ho! ho! oh! so easy to make
- Share via
When it comes to decking the halls, Los Angeles-based “design whisperer” Lauren Makk knows her way around a glue gun.
A self-described DIY-aholic, Makk’s skills shine on shows like “Home Made Simple” on the Oprah Winfrey Network and “Shop Class,” a new DIY competition for kids debuting on Disney+ this month. “I always encourage people to try DIY,” said Makk, “there’s no harm in trying it and if you don’t do a great job you know what you did wrong and you can go back and fix it.”
Her advice: Know your limits and start small to build confidence, patience and technique.
“For me, crafting is my therapy,” said Makk, “being able to sit in front of something with a hot glue gun, I get a lot out of that.
For the holiday season, Makk is sharing three, budget-friendly crafts that call for easily accessible materials and varying levels of skill: DIY table chargers, gift-worthy contemporary clay coasters and upcycled lawn decor with Christmas-y curb appeal.
Get charged up!
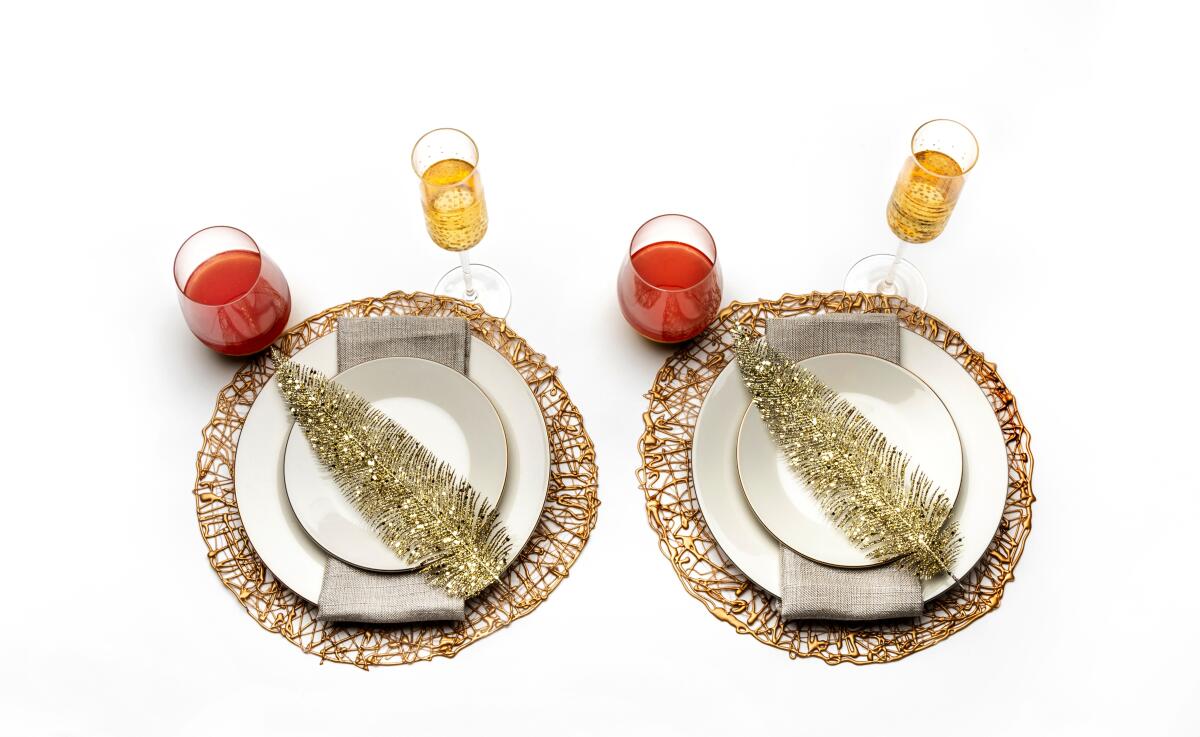
Places, everyone. These easy, peasy DIY chargers elevate a holiday tablescape.
Materials: Ruler, parchment paper, glue sticks, glue gun, spray paint in color of your choice. Think alternating chargers of silver and gold, red and green, or blue and white for a festive table.
1. Trace an oversized charger — that’s the decorative plate that sits beneath the serving plate — or draw a 13-inch diameter circle onto a piece of parchment paper.
2. Using a hot glue gun, drizzle inside the entire surface of the circle with a webbing of glue. Pro tip: This craft requires a lot of glue sticks. Be prepared. Makk used at least four 10-inch glue sticks in her full-sized glue gun, per charger.
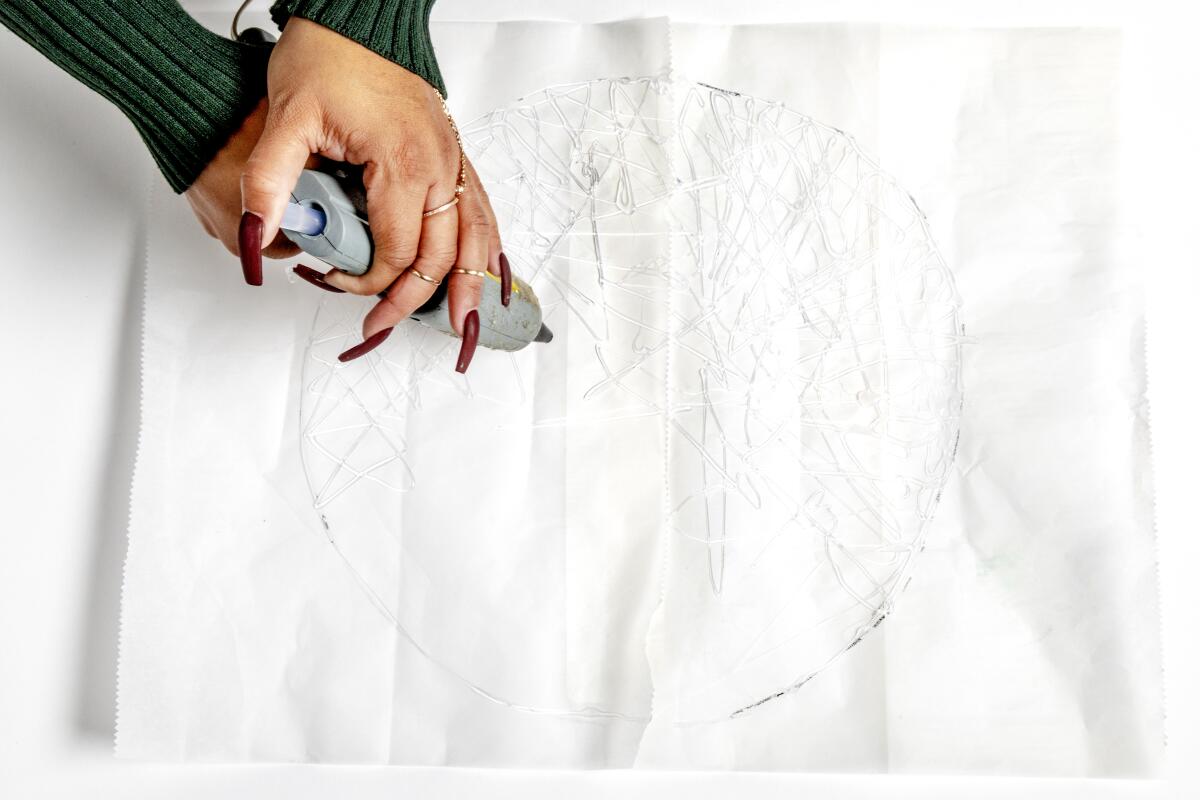
3. Let dry for about five minutes, until cool.
4. Meanwhile, prepare a painting area: Cover a flat surface with newspaper, or a drop cloth.
5. Once the glue is dry, peel off the parchment paper and place on covered surface. Lightly spray one side at a time, allowing to dry for 10 to 15 minutes before flipping over to finish.
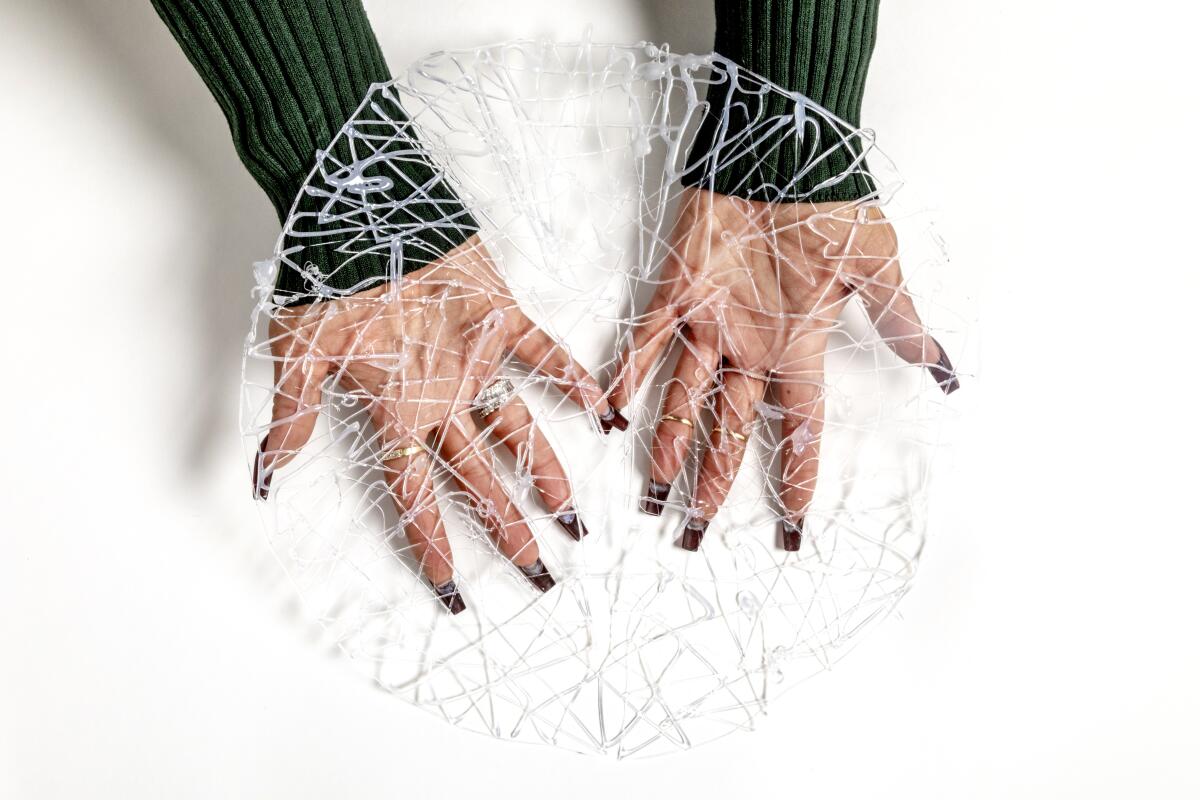
6. Repeat process as needed for each charger.
Bonus: Although perfect for the holidays, chargers can be put to use throughout the year for other special occasions.
::
Custom coasters
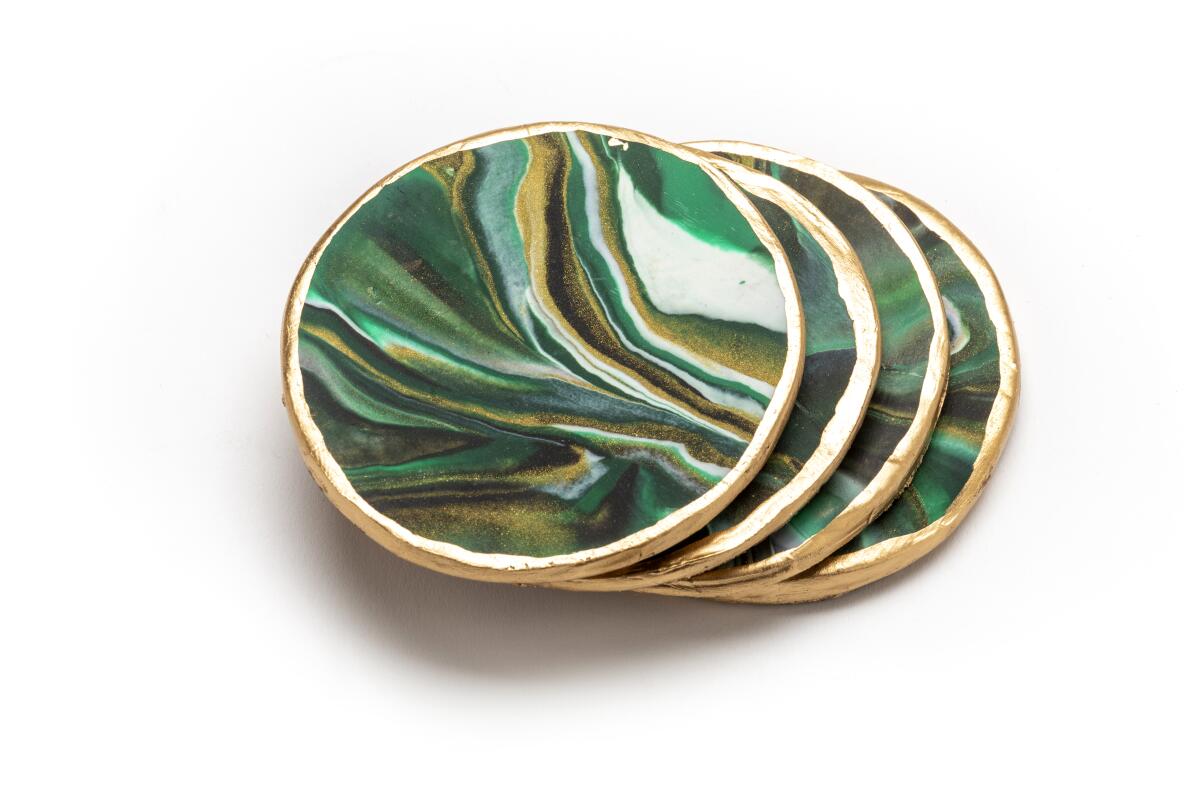
Coffee tables and party surfaces are one thing we don’t want to put a ring on. Keep it classy. Making these in custom colors can personalize party decor, or make clever DIY gifts.
Materials: Polymer clay, baking sheets, parchment paper, crafting knife, cork board, cutting area, fine-grain sandpaper, painting pens and glue
Start shopping for holiday gifts early, writes columnist Chris Erskine. Try decorating a cactus instead of a typical Christmas tree. Explore local holiday pop-ups and craft fairs.
1. Choose three or more colors of polymer, oven-bake clay (like Sculpey, available at amazon.com and craft stores. Start by breaking cubes in half.
2. Roll each piece individually in your hands until malleable enough to create a long, snake-y tube shape. Repeat with each color.
3. Line up the colored tubes side-by-side on a table and twist them into a single strand. Roll the large strand into a ball to thoroughly combine the colors.
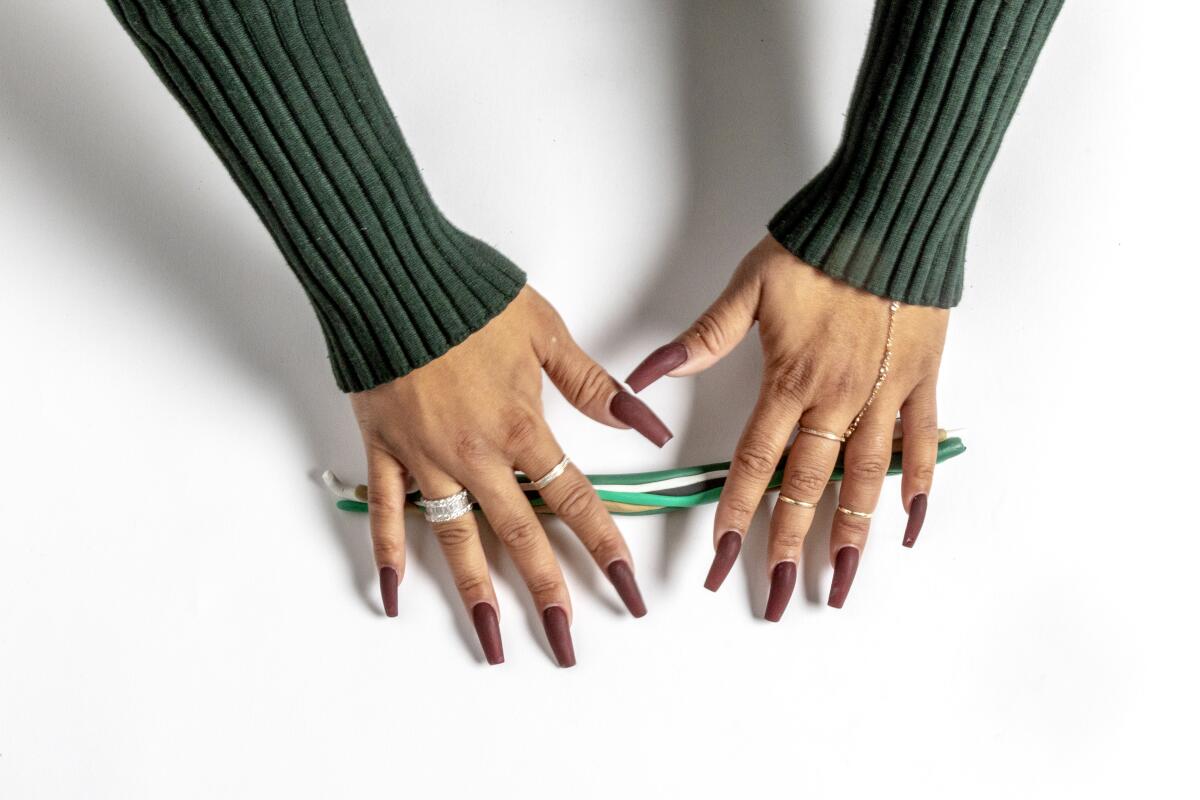
4. Using a rolling pin, or something similar, roll the clay into an even ¼-inch thickness. (Pro tip: Placing two existing coasters underneath each side of the rolling pin while rolling can help achieve the perfect thickness.)
5. Using a circular cookie cutter, or a template of your own design, cut coasters from the clay dough and place them on a baking sheet lined with parchment paper.
6. Bake the coasters at 275 degrees for 25-30 minutes. Let cool.
7. Meanwhile, trace the same template shape onto a thin sheet of hobby cork. Cut a backing for each coaster.
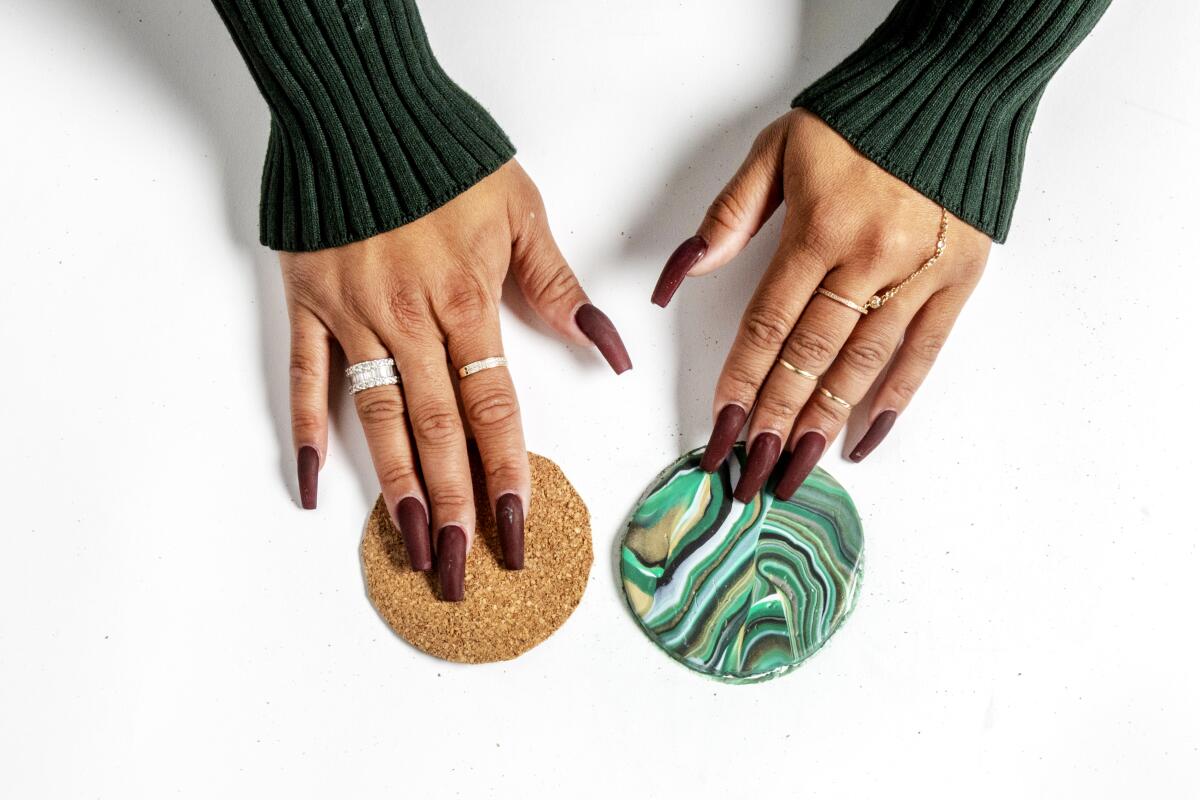
8. Once the clay has cooled to the touch, smooth any rough edges with a fine-grain sandpaper. Use a metallic gold or silver paint pen or gold or silver leaf paint the outer rims of the coasters.
9. After the paint has dried, hot glue the cork backing to each coaster.
::
What were the odds of two Jewish kids who were both born on Christmas Day meeting up at a Hanukkah singles’ party on Dec. 26th?
Lollipop curb appeal
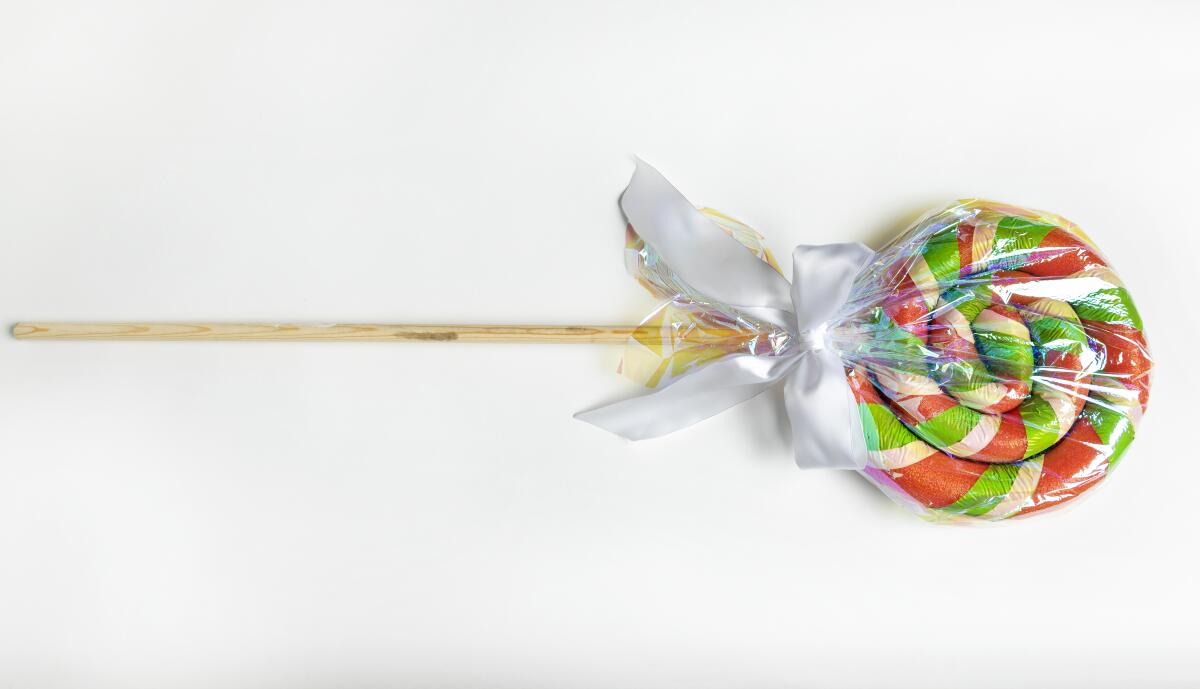
Create gingerbread house decor by upcycling last summer’s pool noodles. Get creative with the colors to make them seasonally festive.
Materials: foam pool noodles, colored duct tape, heavy-duty exterior mounting tape, electric drill with extra large drill bit, PVC pipe or dowel, cellophane wrap, wide ribbon; optional: hot glue/glue gun, spray paint and lawn stakes
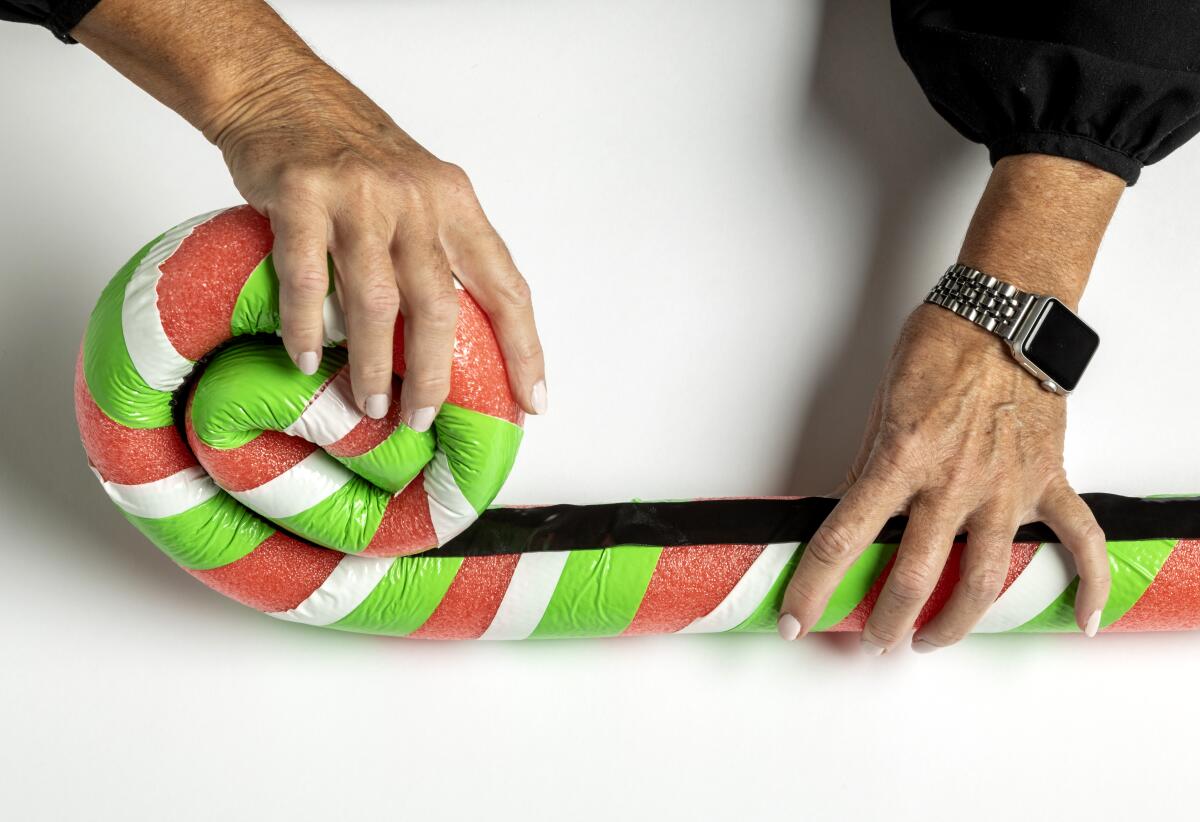
1. Wrap colored duct tape in a loose spiral down the length of the pool noodle. Use a single color of tape, or repeat the process with multiple colors. (For larger lollipops hot-glue two pool noodles together end-to-end.)
2. Affix a line of heavy-duty exterior mounting tape down one side of the noodle.
3. Pressing and holding firmly, roll the noodle along the tape into a large spiral shape. (The end of the noodle will rebel against being taped down, we tied a piece of ribbon — although a string or long rubber band may also work — around the diameter of the spiral to hold the end down and then applied generous amounts of hot glue to the end.) Let the glue dry for at least 30 minutes, or until the noodle is secured in place before taking off the ribbon.
4. Choose a drill bit that matches the diameter of the dowel or PVC pipe. Create a single hole in the outside edge of the spiral for inserting the “stick.” If necessary, stabilize with hot glue.
5. Cut a thin piece of PVC pipe or wooden dowel to the length you desire for your lollipop stick and insert it securely into the hole, using glue if necessary. Makk spray painted her stick, but you can leave unpainted according to your decor.
6. Drape the lollipop with a large square sheet of cellophane (Makk chose an irridescent, mother of pearl color) and gather it around the stick.
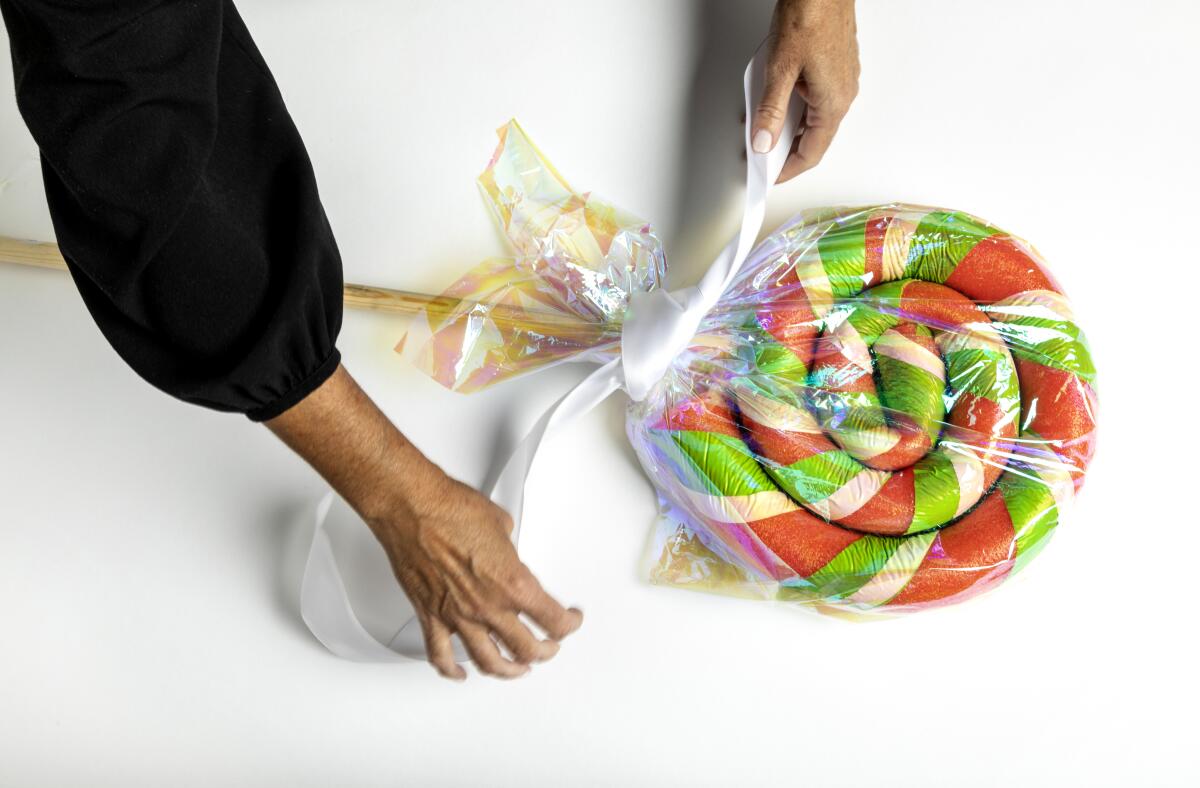
7. Secure it tightly with wide ribbon and tie it into a bow.
8. Get creative: Line a walkway with the lollipops, or use them to decorate planters, tie onto porch railings, hang on a front door, or accessorize the garden for super sweet holiday style. Pro tip: Securing the lollipop sticks onto lawn stakes planted into the ground will help them stand upright.
More to Read
Sign up for The Wild
We’ll help you find the best places to hike, bike and run, as well as the perfect silent spots for meditation and yoga.
You may occasionally receive promotional content from the Los Angeles Times.
