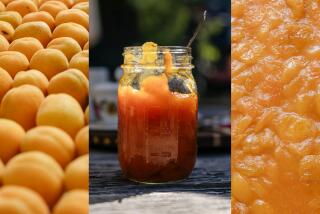
Preserving 101: Yes You Can Can
- Share via
Canning scares a lot of people, but if you’re careful to make sure everything stays absolutely sterile, it’s quite easy.
* The first step is to make sure you have clean jars and rims and fresh lids that have never been used (lids and rims can be purchased separate from jars). Dip every jar and lid (as well as any other implements that will touch the finished jam) into a large pot of boiling water for at least 3 minutes. Afterward, remove them to a baking sheet and keep them in a 250-degree oven until you are ready to use them.
* When the jam is cooked, ladle it into the jars, coming within 1/4 inch of the top (a wide-mouthed canning funnel makes this easy).
* Wipe the threads of the jar clean and place the lid on top of the jar. Screw down the rim as tight as it will go.
* Place the sealed jars in boiling water to cover for 10 minutes. Remove them to a sideboard and let them cool. You should hear a repeated “plink-plink” as the cooling jars form the vacuum that seals the lid.
* When the jars are cool, test each by pushing down in the center of the lid. There should be no flex in the lid. If there is, return the sealed jar to the boiling water for another round. Do not tighten the rims further.
* Store jams and jellies in a cool, dark place, such as a pantry.
For more information on home canning, please check the Alltrista Corp. (formerly a subsidiary of Ball Corp.Web site: https://www.homecanning.com/usa/
More to Read
Eat your way across L.A.
Get our weekly Tasting Notes newsletter for reviews, news and more.
You may occasionally receive promotional content from the Los Angeles Times.


