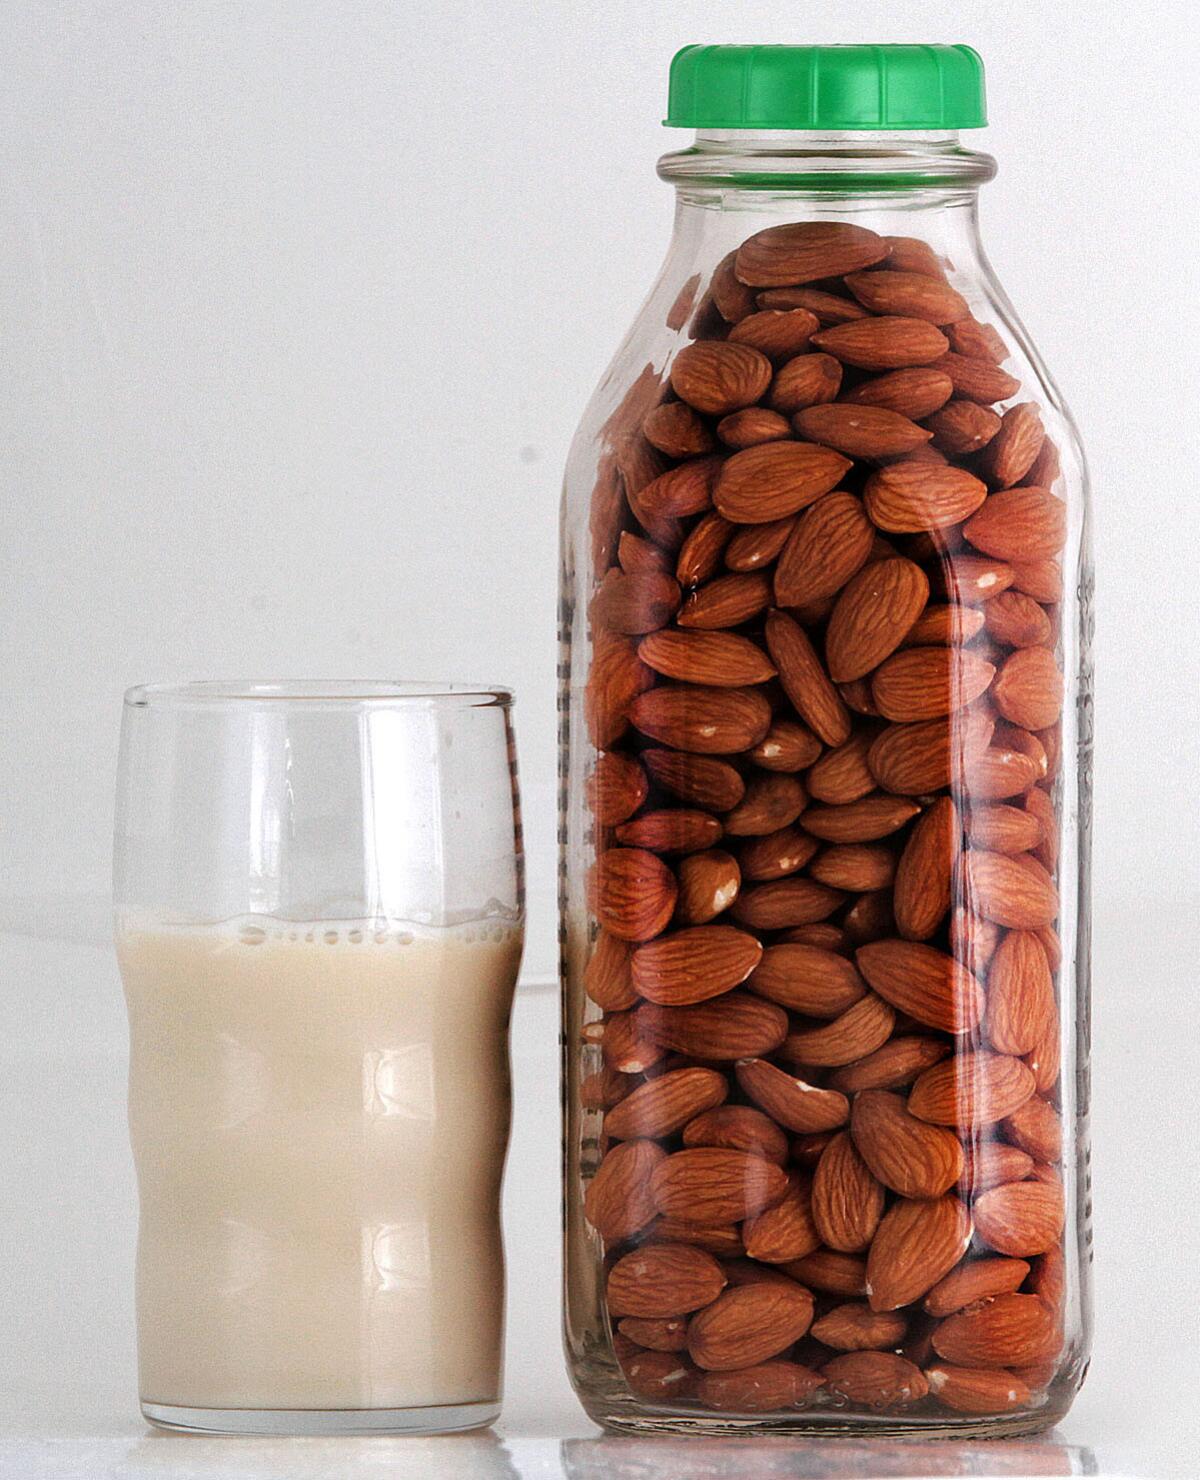
Make nut milk - plant based and, oh, so easy

- Share via
Nuts. And water. That’s really all there is to nut milk.
Maybe you’ve noticed all the dairy-free milk brands vying for attention at your local market. Nut milks — and other plant-based milks such as soy, rice and even coconut — are hot right now. Whether you’re lactose intolerant or have perhaps “consciously uncoupled” yourself from dairy, plant-based alternatives are a growing market for both health- and fad-related reasons.
But have you bothered to check the back of the box?
In addition to nuts and water, you’ll most likely find a litany of additional ingredients. Some are added to lend flavoring and/or sweetness, others to fortify the milk with vitamins and minerals. Some, like seaweed-derived carrageenan, are added to thicken and emulsify the milk, while still others work as preservatives to extend shelf life.
It was enough to make me wonder how hard it would be to just make it myself.
Believe it or not, homemade nut milk is incredibly simple: Soak nuts, blend and strain. Voila.
There are plenty of recipes for nut milks available on the Internet, but the method is basic: Take raw nuts and immerse them in a bowl of water. Soak the nuts until they’re noticeably plump (kind of like soaking raisins), at least several hours and up to a day or so. Drain the water and give the nuts a good rinse, then place them in a blender with fresh water and blend away to your heart’s content.
When the nuts are puréed, strain the liquid. Because of the fine grit from the nut pulp, the liquid will need to be carefully strained. Several layers of cheesecloth over a mesh strainer work well, as does a tea towel. But the best thing I’ve found is something called a nut milk bag (yes, that’s the name, and it can easily be found on the Internet). Fill the bag with purée and gently squeeze the liquid out; the bag works wonders at removing the grit to give the milk a nice, smooth texture.
After the liquid is strained, adjust the consistency with additional liquid to suit your taste. Most methods I’ve seen call for a ratio of 1 cup of nuts to 3 or 4 cups water. I personally prefer one pound of nuts (a little over three cups) to around six cups of water for a nut milk similar in consistency to whole dairy milk. To create a “cream,” allow a little of the finer grit in with the milk and reduce the water for a thicker consistency.
Because homemade nut milk will naturally separate over time, store it in a container with a tight-fitting lid so you can give it a good shake before using. Once it’s made, the milk will keep, refrigerated, for three to five days.
As for the leftover pulp, save it. You can use it in so many things. Flavor the pulp and use it as a spread, add it to a shake or fold it in with pancake batters or dips. Or simply spread the pulp out and slowly dry it in a low oven to make nut meal.
I recently used some dried-out almond meal in cookies. For a batch of sables, I combined coconut oil, almond meal, sugar, flour and cacao nibs, rolling the crumbly dough into a log. After slicing and baking, I took a bite of a still-warm cookie. Rich, with a sable’s signature “sandy” texture, one might never guess the cookie was dairy-free. And vegan. Perfect for my health- and fad-conscious friends.
More to Read
Eat your way across L.A.
Get our weekly Tasting Notes newsletter for reviews, news and more.
You may occasionally receive promotional content from the Los Angeles Times.


