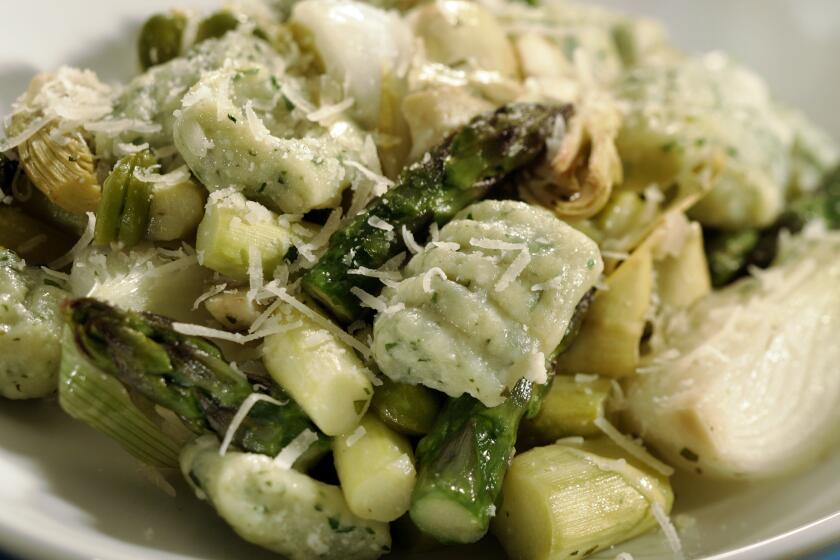
Making gnocchi is just as easy as making your own pasta

- Share via
How to Boil Water
With so many of you having to stay home and cook for the first time — ever or more than you have in a long time — we get that it can be overwhelming to have to cook all your meals from scratch. So, we’re here to get you started.
Each day we’re going to post a new skill here and detail how to do it — a resource for cooking basics so you can get food on the table and get through this.
A series of simple tutorials for making some basic recipes at home.
Lesson 13: Gnocchi
Gnocchi: Under quarantine, homemade gnocchi sound positively luxurious, but — and don’t tell this to whomever you’re on lockdown with — they are easier and more forgiving than making pasta. That’s an equation with the correct proportions that we all need in our lives right now.
This recipe is a simplified version of one chef Marco Canora shared in Lucky Peach magazine, where I used to work. His is more in depth and mystical and complicated; I’ve found this streamlined version of his technique to work flawlessly.
You need only a couple ingredients — potatoes and all-purpose flour — but as with all things this simple, the devil is in the details. The potatoes must be Russets, a variety that’s starchy and dry, the two qualities you want most in a potato for making gnocchi. They are pretty standard in size, so your one potato should equal about 12 ounces (weigh it on the produce scale at the grocery store to make sure).
(Also, yes, this is a one-potato-for-two-servings of gnocchi recipe; feel free to scale up and consider this practice for when you want to make a larger batch in a year or so when we can have big dinner parties again.)
Next, you’re going to bake the potato, not boil it, to help dry it out. It goes into a 350-degree oven and bakes until you can easily slide a paring knife in and out, between one hour and one hour and 15 minutes.
Next, you cut the potato in half, and while it’s still hot, hold each half in one towel-protected hand while, in the other hand, you use a spoon to scoop out its insides into a food mill or potato ricer. These two machines will grate the potato as fine as possible without compressing it and making it gluey, which is what mashing would do.
Pass the potatoes through the fine holes of the mill or ricer onto a clean work surface and spread them out in an even layer so they can cool. If you don’t have either a food mill or potato ricer, first ask yourself if you have time to buy one. If not, then use the small holes of a box grater, but be careful and grate each potato half while it’s still intact with its skin, using the skin as a guard while you grate only the flesh; discard the skin.
Once you’ve got your potatoes all spread out, sprinkle over 3/4 cup all-purpose flour in as even a layer as you can manage. Next, grab a fork and imagine you’re raking a Japanese rock garden with it, except the rocks are the potatoes and flour. You want to lightly drag the tines of the fork along your work surface, letting them combine the potato and flour almost by accident. This method will ensure that you combine the two just enough to make a dough but prevent you from kneading it into gluey, tough submission with your hands.
Next, gently press the sides of the dough mass together, compressing it as gently as you can, then start lifting segments and folding them over onto themselves, lightly and quickly pressing straight down. Continue in this way until virtually all the loose flour is absorbed and the dough forms a smooth mass. Then, take a beat to move the dough to the side and clean any dried-on dough bits and flour off your work surface.
Cut the dough into four pieces. Working with one piece at a time, gently roll it back and forth under your outstretched fingers and form it into a thick rope, about 12 inches long and 3/4 inch in diameter. Roll the rope to the top of your work surface, lightly sprinkle with flour to coat and repeat with the remaining dough pieces.
Once all the ropes are shaped and floured, use a knife to cut each rope every 1/2 to 3/8 inch to make small pillows. Now, theoretically, you’re done — you could stop here and cook your gnocchi as they are. But since you’ve already devoted yourself to making these, why not take it another step and give them those characteristic ridges we all know and love?
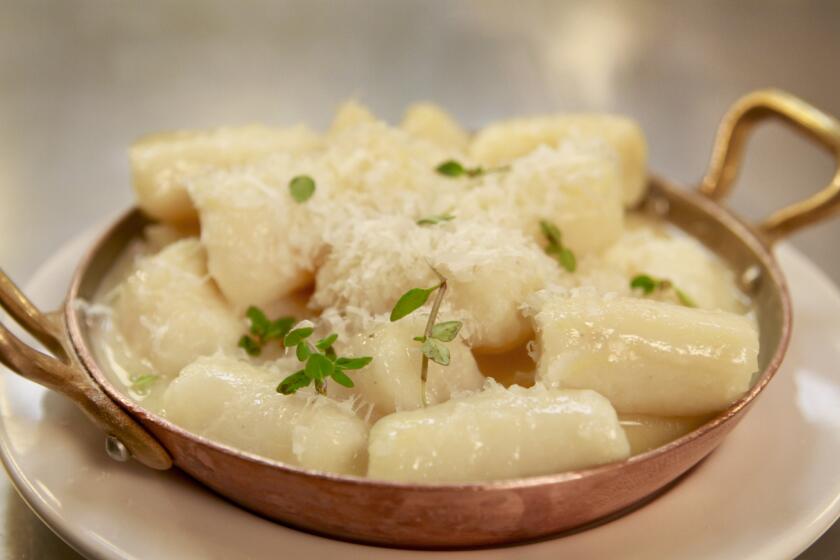
You don’t need a special board for this. Remember that fork you raked the dough with earlier? Clean it and position it in your nondominant hand so the fork’s tines face down. Pick up a dough pillow with your other hand and position it crosswise across the curve of the fork where the tines meet the solid metal. Using your thumb, gently press the pillow as if you wanted to rub it both along the length of the tines and into them at the same time. The pillow will actually flatten somewhat then curl back in on itself to create the classic ridged tubular shape. Your first couple gnocchi will not look great and that’s OK. Keep going and I promise that by the time you’ve gotten through the first dough rope’s worth of pillows, you’ll have it down.
Use a flat metal spatula or bench scraper to transfer all the formed gnocchi to a parchment paper-lined baking sheet and — now this is the best part — freeze them. I know many traditionalists will balk at this, but you’ve just spent a considerable amount of time making the dough and forming the gnocchi. Do you really want to have done all that while a giant pot of water was boiling next to you, creating a sauna in your kitchen? No. Freezing the gnocchi gives you time to collect yourself and plan for how you want to sauce and serve the gnocchi later.
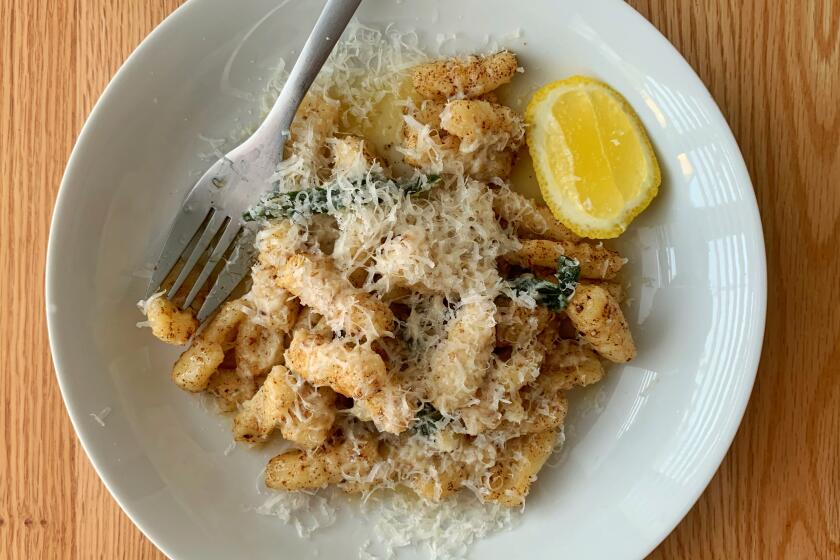
When you’re ready to cook, treat them just like pasta. Bring a large pot of water to boil, salt it well, then topple in your frozen gnocchi. Occasionally give them a gentle stir, but otherwise let them boil away. Once they float to the surface of the water, you know they’re ready. Use a spider or slotted spoon and lift them out of the water and onto a plate. From here, they can hang out for a minute while you prepare whatever sauce you want to toss them in: Simple marinara sauce or pesto is great, but the classic is some browned butter (for this batch of gnocchi, melt about 1/2 cup in a large skillet until nutty and golden), infused with a few sage leaves. Add the gnocchi, toss with the butter off the heat then plate them and add a fragrant hit of fresh lemon juice to serve.
Easy Potato Gnocchi With Browned Butter and Sage
Want more gnocchi recipes?
Gnocchi
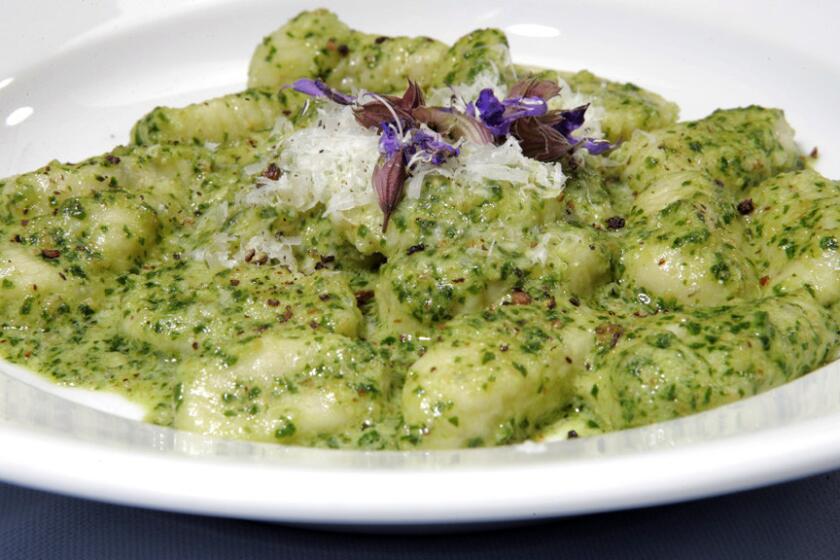
Sage gnocchi with parsley-walnut pesto
Spring vegetable stew with herbed ricotta gnocchi
More to Read
Eat your way across L.A.
Get our weekly Tasting Notes newsletter for reviews, news and more.
You may occasionally receive promotional content from the Los Angeles Times.
