Wildfires turned Bay Area skies orange. Here’s how to capture the strange view on your phone

- Share via
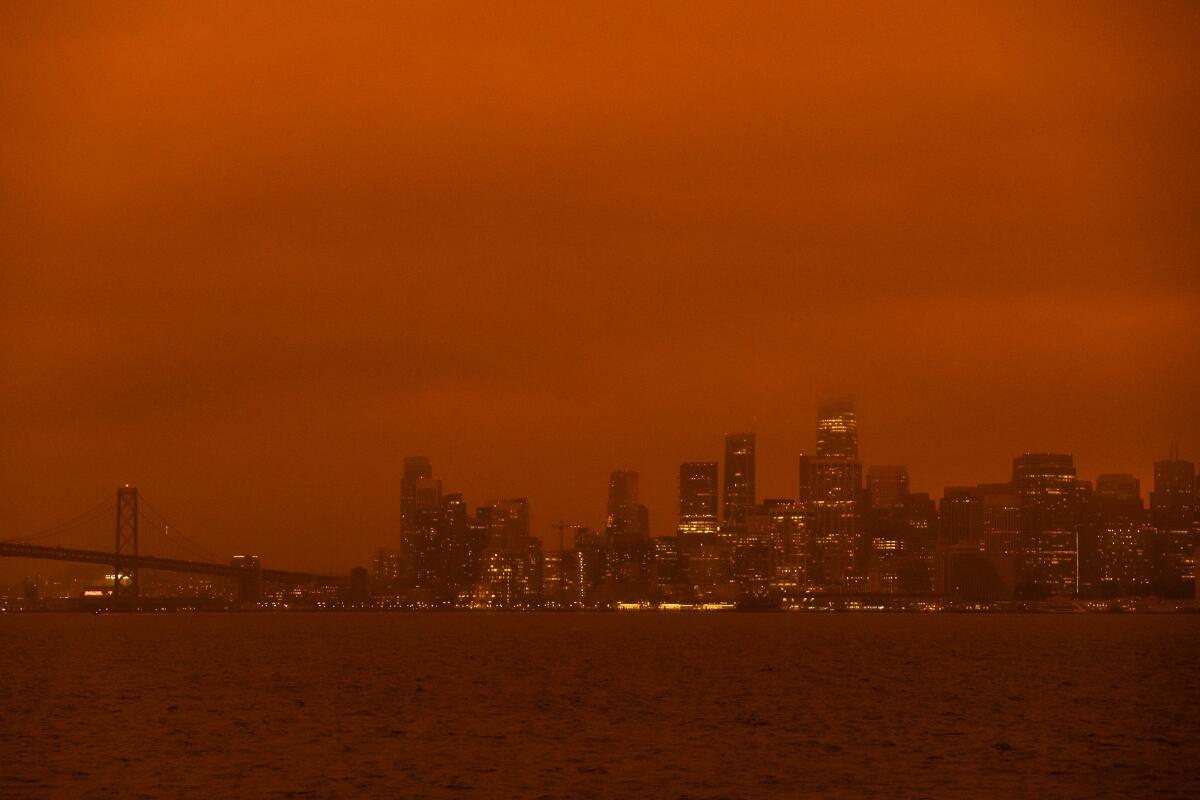
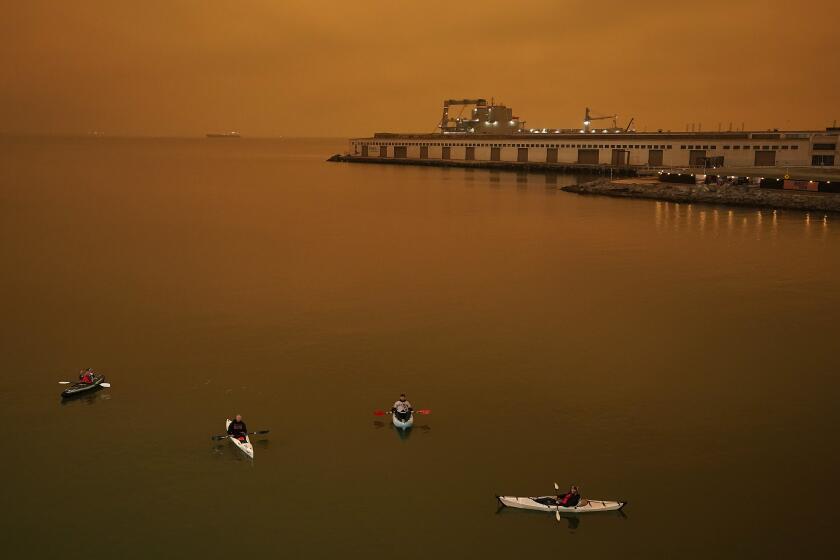
Many people in Northern California were caught off guard Wednesday morning when they awoke to pumpkin-orange skies caused by smoke from multiple wildfires.
And so were their iPhones.
Those attempting to document the otherworldly scene might find that the rich orange and red tones they see — even after rubbing their eyes in disbelief — aren’t translating to their cellphone snapshots.
That’s because the camera — a computer — attempts to make sense of what it “sees,” according to Jay Clendenin, a veteran photographer with the Los Angeles Times.
“It’s going to look at that scene, see what it thinks is a sky, see all of that yellow and say, ‘Oh, well, that’s not right.’ And convert it, most likely, to blue,” said Clendenin, who has photographed dozens of fires over his 12 years with the Times.
In photography, this is known as white balance, or the process of removing color casts that might make a photo look unnatural. The idea is to make whites look white, blues look blue, etc. iPhone cameras do this automatically, operating under natural color assumptions. So what do you do when you’re trying to capture something that looks unnatural?
First, Clendenin recommends turning off HDR, or high dynamic range. That function takes an automatic exposure, a brighter exposure and a darker exposure, then combines them into one image, he said.
“That will really mess with the look of a picture because it’s really combining three pictures into one,” he said. “So if you turn that off, you’ll be closer to getting a single frame each time.”
The skies around the Bay Area and other parts of Northern California took on an eerie glow as smoke from several fires enveloped the region.
You can also adjust the color tone, either before or after taking the photo, Clendenin said.
Before taking a photo, you can choose a filter by clicking the icon comprised of three overlapping circles in the right-hand corner. Options like “vivid warm” and “dramatic warm” increase the yellow tones.
To tweak a photo after it’s been taken, adjust what’s labeled “warmth” in the iPhone editing software. To find this function, open a photo, click “edit” on the bottom righthand corner, click the icon that looks like a yin-yang and then scroll through options until it appears.
Photojournalists don’t typically work with cellphone cameras, including when in a breaking news situation like covering a wildfire. And editing photos after they are taken is done within specific parameters. The Times’ ethics guidelines read: “We do not add color, create photomontages, remove objects or flop images. We do not digitally alter images beyond making minor adjustments for color correction, exposure correction and removal of dust spots or scratches required to ensure faithful reproduction of the original image. We do not permit the exaggerated use of burning, dodging or color saturation or the use of photo editing app filters to manipulate images for publication.”
Recalling photographing California wildfires in the past, Clendenin said he’s witnessed rich yellow skies when close to the lapping flames, “but to see it everywhere else is kind of crazy.”
Even in Southern California, where the skies have not taken on the deep orange hues seen up north, Clendenin described “haze and glow” in Manhattan Beach.
More to Read
Sign up for Essential California
The most important California stories and recommendations in your inbox every morning.
You may occasionally receive promotional content from the Los Angeles Times.


